Here is a quick 10 step guide to creating a lure/plug storage crate to go in your vehicle or to stack in your fishing den. Keeps the plugs organized and has enough room for sizes up to 10" long. This is the simplified version.
Project:
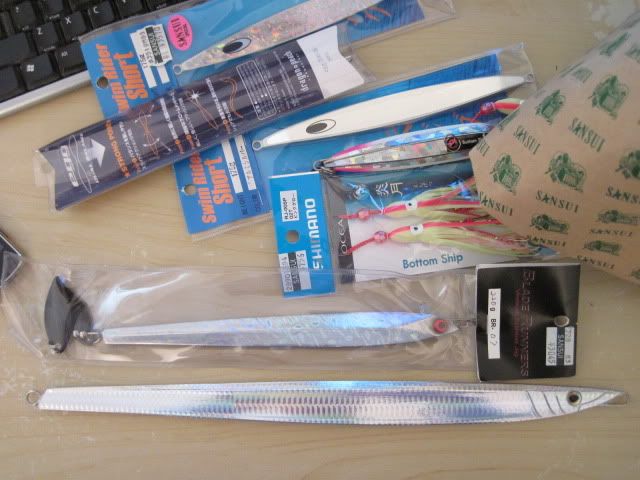
Love your plugs
Items Used:
- MilkCrate
- Schedule 40 PVC Pipe, length: 5ft x 2inch diameter (quantity 4)
- Clear Cable Ties (20 pack)
- Hacksaw 12"
- Marker
- Measuring Tape
- Sandpaper - 120 grit
Start: Day 1
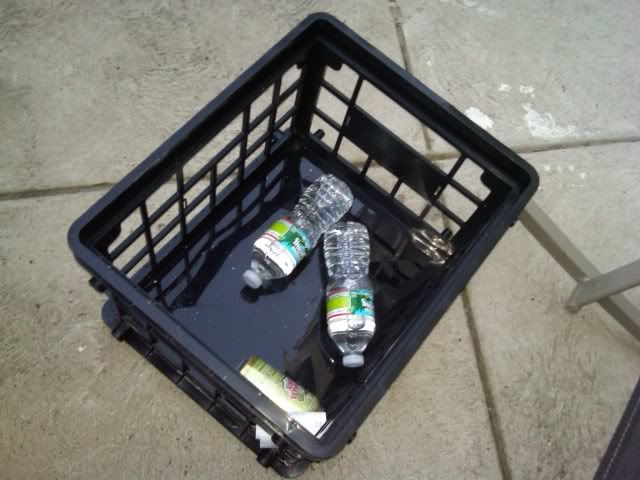
1. "OBTAIN" a Milk Crate
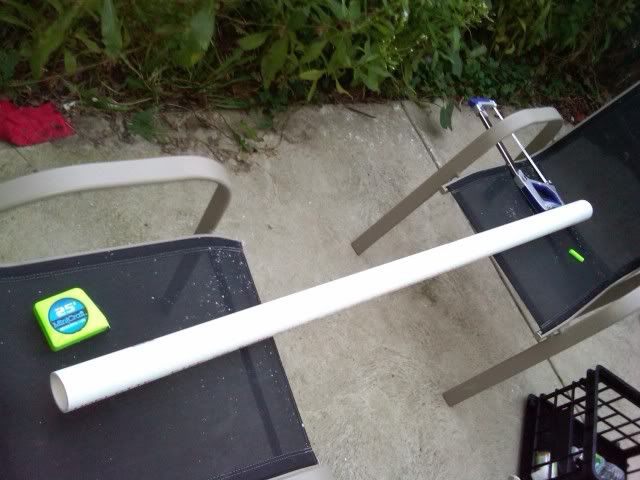
2. Decide on your pipe! Enter the 2 inch "Schedule 40"
3. Choose your weapon: Hacksaw 12"
4. Measure up! I'm at 10", ten...ten that is...
5. After marking up, time to grease your elbow!
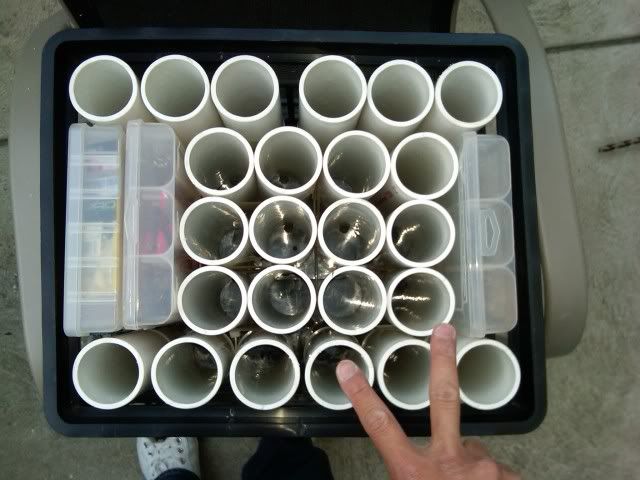
6. Chopped up portions, ready to go! 24 Counted for!
7. Carefull attention to detail as I sand down the edges 120 grit!
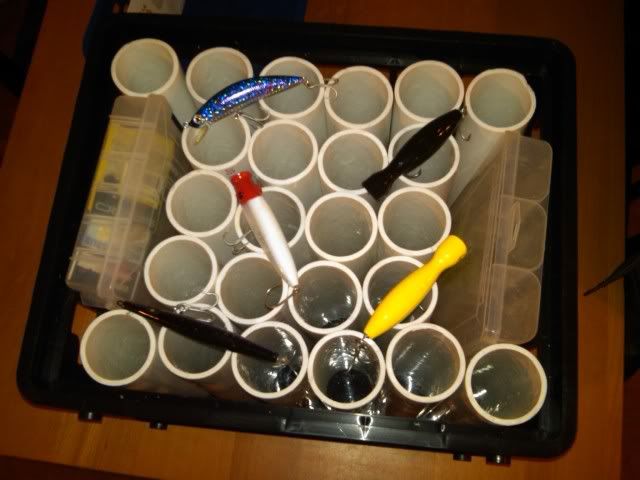
8. VOILA! Enter final stage of Milkcrate design.
9. With the addition of plugs, the only step left cable ties.
10. FINISHED!
-------------------------------------------------------------------
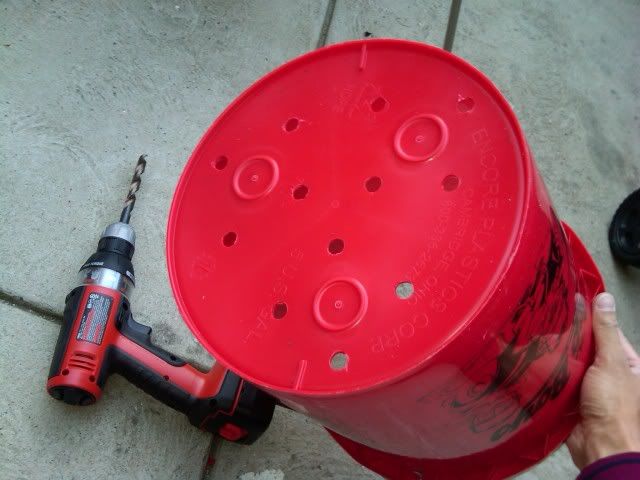
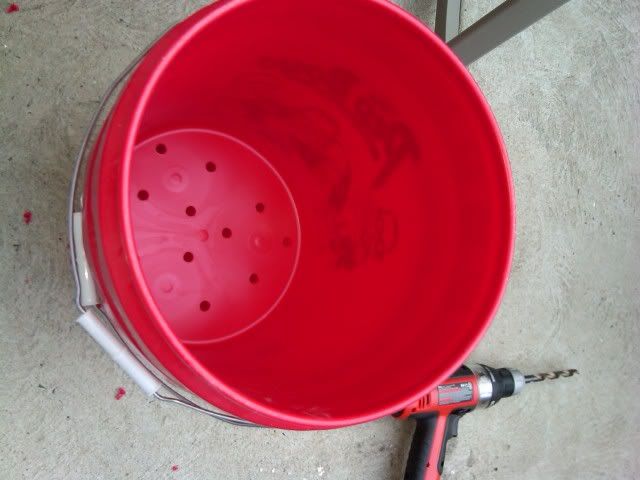
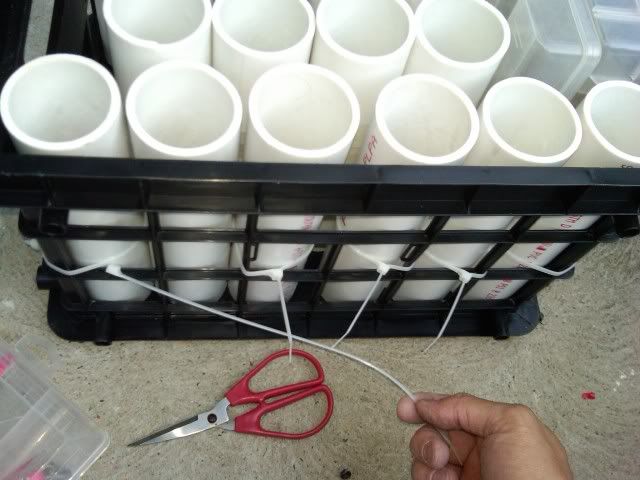
Start Day 2 - Drilling Water escape holes & Cable ties:
Now for the cable work. I tied all the outside tubes (6 on each side).
DONE!
Complete Elapsed Time: 3 hours
Total Cost for Project Milkcrate: $? USD
Finished Product: $$PRICELESS$$ =D ...Enjoy!


